Tag: Activate eSIM

  • eSIM for Qatar: How to Activate a Qatar Data eSIM in Nigeria

    At Murtala Muhammed Airport, Ibrahim had everything sorted; passport, visa, hotel booking. What he didn’t plan for was internet access. Minutes after landing in Doha, his Nigerian SIM stopped working. No Google Maps. No WhatsApp. No way to reach his pickup driver. By the time he finally connected to Wi-Fi, he had already spent more on roaming than he planned for food that day.

    In this guide, you’ll learn how eSIM for Qatar works. Instead of dealing with roaming charges or unreliable airport SIMs, you can buy a data-only eSIM on Nexar and activate it instantly before you travel.
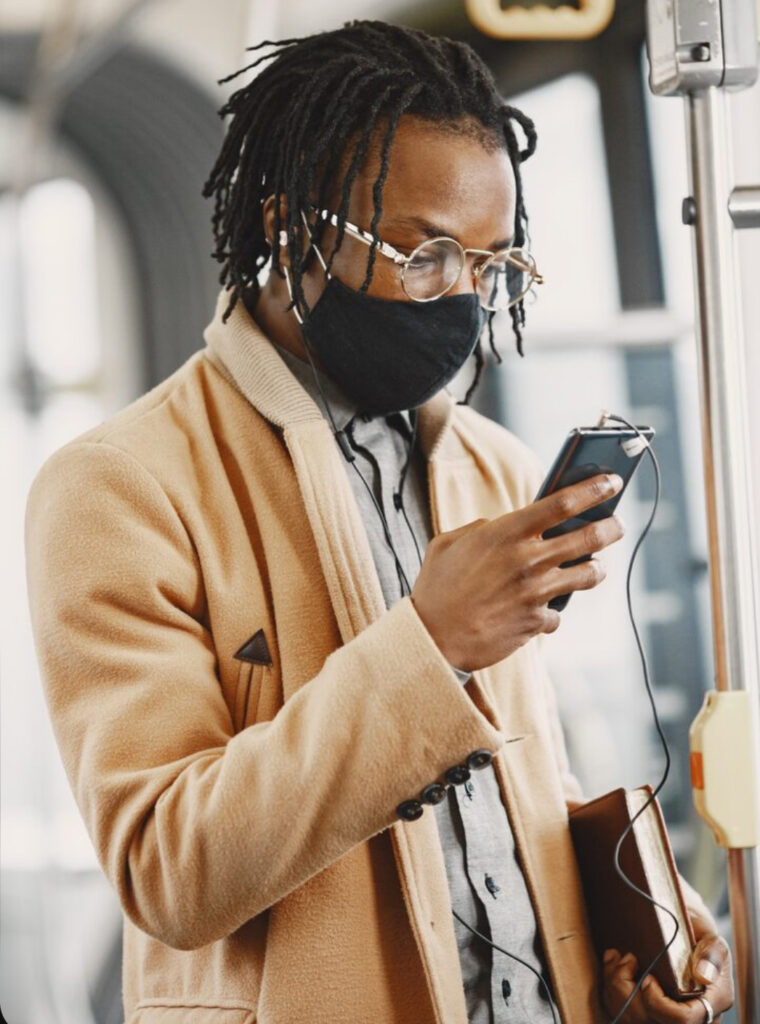
    Ibrahim at the airport realizing he has not activated his eSIM before traveling to Qatar

    What Is an eSIM for Qatar and How Does It Work?

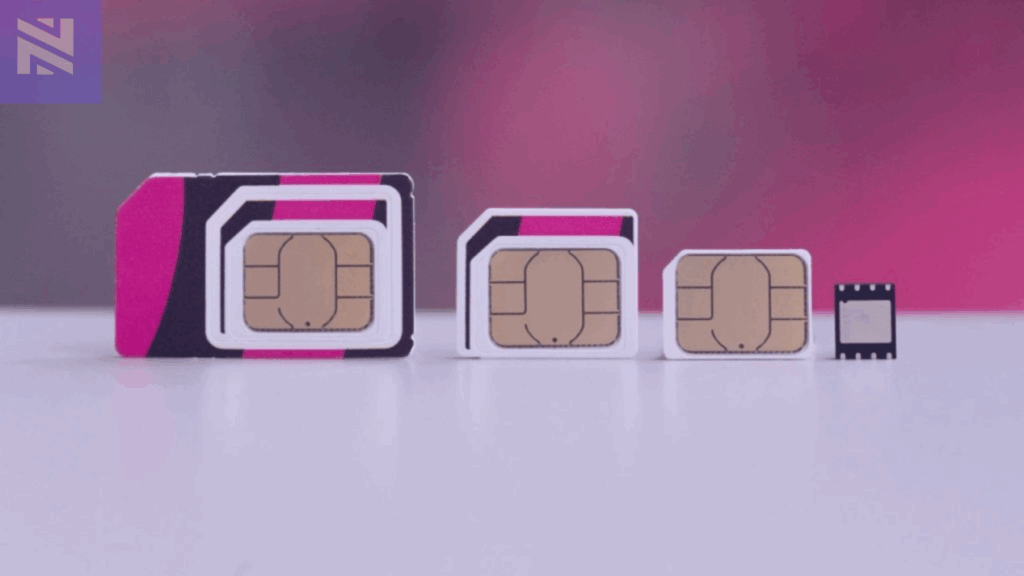
    An eSIM for Qatar is a digital SIM that gives you mobile data in Qatar without inserting a physical SIM card. Instead of visiting a kiosk or swapping SIMs, you install the eSIM directly on your phone.

    Once activated, your travel eSIM connects you to local networks in Qatar, allowing you to browse, chat, navigate, and work online using data only.

    According to the GSMA eSIM standard, an eSIM is built directly into your device and can be activated remotely without a physical SIM card.

    This is especially useful for Nigerians because:

    • Roaming charges are expensive
    • Physical SIM registration can be stressful
    • Airport SIM prices are often higher

    Why Nigerians Prefer an eSIM for Qatar Over Roaming

    Using roaming with Nigerian networks can drain your balance in minutes. That’s why many travelers now choose a reliable data-only eSIM
    instead.

    Here’s why it makes more sense:

    • Predictable costs: You pay once and know exactly how much data you have
    • Instant connectivity: Your data works as soon as you land
    • No physical SIM: Your Nigerian SIM stays active for calls and OTPs
    • Better control: You manage everything from your phone

    With a properly activated eSIM for Qatar, you avoid the stress most travelers face abroad.

    The Biggest Problem Nigerians Face When Buying an eSIM for Qatar

    The issue isn’t awareness, it’s access.

    Many global eSIM platforms:

    • Decline Nigerian cards
    • Have confusing setup instructions
    • Offer poor customer support
    • Don’t explain Qatar eSIM activation clearly

    This is where having a platform built for Africans makes all the difference.

    How to Activate eSIM for Qatar in Nigeria

    Activating an eSIM with Nexar is straightforward and best done before you travel.

    Step 1: Confirm Your Device Supports eSIM

    Most recent iPhones and Android devices support eSIM. Before you activate an eSIM for Qatar, it’s important to confirm that your phone is on the list of eSIM-compatible devices.

    Step 2: Buy your data plan on Nexar

    Choose your preferred travel eSIM plan based on how long you’ll stay and how much data you need.
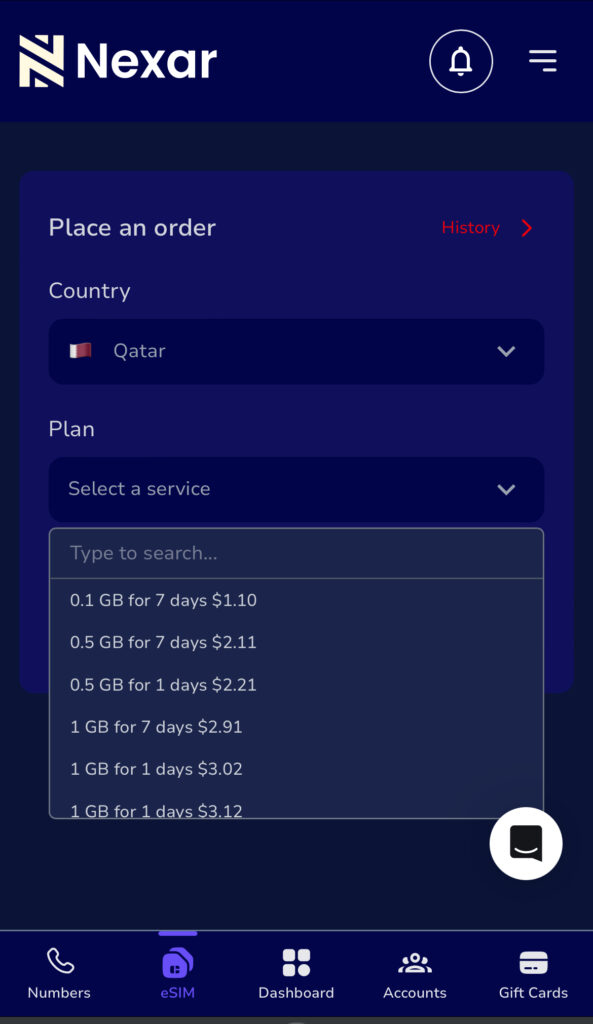
    Step 3: Receive Your QR Code

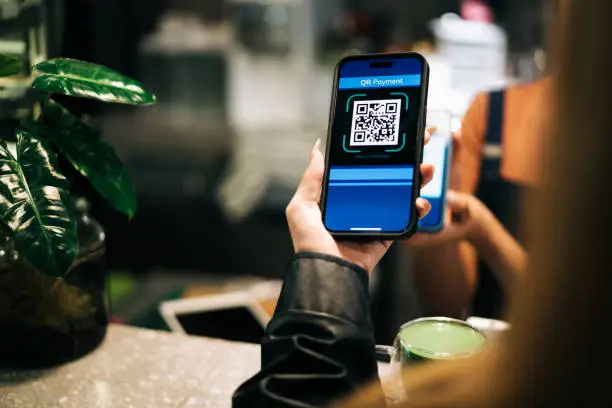
    After payment, Nexar sends the eSIM activation QR code to your email instantly.

    Step 4: Install the eSIM

    Scan the QR code using your phone’s eSIM setup option.

    Important: The QR code can only be scanned once.

    Step 5: Activate on Arrival

    Once in Qatar:

    • Turn on the eSIM
    • Enable data roaming
    • Select the eSIM as your mobile data line

    Your eSIM for Qatar connects automatically.

    What You Can Do With a Travel eSIM Qatar Plan

    Once your travel eSIM is active, you can:

    • Use Google Maps for navigation
    • Stay active on WhatsApp, Instagram, and email
    • Book rides and hotels online
    • Join Zoom or Teams meetings
    • Work remotely without interruptions

    This makes eSIM for Qatar ideal for freelancers, consultants, and business travelers from Nigeria.

    Why Choose Nexar for eSIM for Qatar

    Nexar is designed to solve the exact problems Nigerians face when trying to stay connected abroad.

    Here’s why Nexar stands out as a reliable data- only eSIM:

    • Built with Nigerians in mind

    Nexar supports local payment methods and understands how Nigerians travel and work.

    • Instant delivery

    Once you buy your eSIM for Qatar, your QR code is sent immediately, no delays.

    • Simple activation steps

    Nexar provides clear instructions so your data-only eSIM activation works on the first try.

    • Reliable data-only plans

    The travel eSIM plans are optimized for WhatsApp, Google Maps, email, work tools, and social media.

    • Responsive support

    If you need help, Nexar support is available and understands local users, not generic chatbot replies.

    This makes Nexar a reliable solution, not just another eSIM seller.

    Common Mistakes to Avoid When Using eSIM for Qatar

    To get the best experience with eSIM for Qatar, avoid these mistakes:

    • Waiting until arrival to activate
    • Using unsupported devices
    • Turning off data roaming for the eSIM line
    • Buying plans that don’t match your stay duration

    Preparing ahead ensures your eSIM for Qatar works smoothly.

    Common Questions Nigerians Ask About eSIM for Qatar

    Q. Can I activate my eSIM before traveling?

    Yes. With Nexar, you can install and activate your eSIM before traveling so it starts working immediately after landing.

    Q. Will my Nigerian SIM still work?

    Yes. Your physical SIM remains active for calls and OTPs.

    Q. Is Nexar’s eSIM data-only?

    Yes. Nexar offers data-only eSIMs designed for internet access abroad.

    Final Thoughts: Is eSIM for Qatar Worth It?

    If you value convenience, cost control, and instant connectivity, eSIM for Qatar is absolutely worth it. For Nigerians traveling to Qatar, it removes uncertainty and keeps you connected from day one.

    Instead of struggling with roaming or airport SIMs, activate eSIM for Qatar in Nigeria and travel with peace of mind.

    Visit the Nexar website today and activate your travel eSIM before your trip.
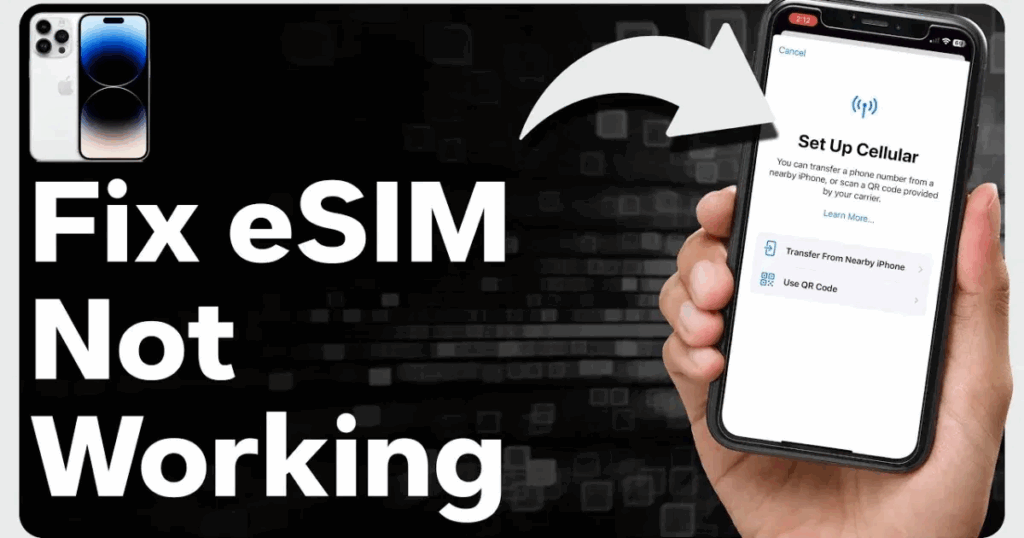
  • Why Your eSIM Is Not Activating and How to Fix It instantly

    The rise of eSIM technology has made mobile connectivity faster and more convenient, especially for people who use digital services, remote work tools, or need multiple numbers. Yet, many users experience one recurring frustration: eSIM not activating.

    If you are in Nigeria and your eSIM refuses to load, keeps showing an error, or gets stuck on the activation screen, you’re not alone. This guide explains the most common causes of eSIM activation problems, why they happen, and proven steps to fix eSIM issues in Nigeria.

    Whether you’re using an eSIM for WhatsApp, social media verification, international calls, or a virtual number service like Nexar, this article gives you the clarity you need to get your eSIM working.

    eSIM not activating

    What Is an eSIM and Why Activation Problems Happen

    An eSIM is a digital SIM embedded in your device. Unlike physical SIM cards, an eSIM doesn’t need swapping or inserting. Instead, you scan a QR code or enter an activation code from your provider.

    However, because eSIMs depend on internet connectivity, device compatibility, and network support, activation issues are common. When you experience eSIM not activating, the root cause is usually one of the following:

    • Device not compatible with the eSIM profile
    • Network restrictions in Nigeria
    • Incorrect QR code or activation details
    • Internet connection too weak to download the eSIM
    • Old device software
    • Provider-side outage or delay

    The good news is that every issue has a solution.

    Common Reasons Your eSIM Is Not Activating in Nigeria

    Below are the most frequent causes of eSIM not activating for Nigerian users, along with how to fix each problem.

    1. Your Device Is Not eSIM-Compatible

    Not all smartphones support eSIM technology. Even within the same brand, only specific models allow digital SIM activation.

    How to Fix It:

    1. Check your device compatibility on your provider’s site or the smartphone brand’s official page.
    2. Update your device software.
    3. If using a dual-SIM phone, confirm that the secondary SIM slot supports eSIM.

    2. Weak or Unstable Internet Connection

    Your eSIM can only download and activate using a strong internet connection. Slow Wi-Fi or mobile data interruptions can cause eSIM activation problems.

    How to Fix It:

    1. Switch to a stable Wi-Fi network before scanning your QR code.
    2. Turn off VPN if active, as it can block eSIM provisioning servers.
    3. Restart the activation process with stronger internet.

    3. Incorrect or Expired QR Code

    If your QR code has been used before, expired, or partially scanned, you’ll likely experience eSIM not activating.

    How to Fix It:

    1. Request a fresh QR code from your eSIM provider.
    2. Ensure your camera scans the entire code without obstruction.
    3. Avoid screenshots of low quality.

    4. Your Device Software Is Out of Date

    Outdated iOS or Android software can block new network profiles.

    How to Fix It:

    1. Go to Settings > Software Update and install the latest version.
    2. Restart your phone and retry the eSIM activation.
    3. Ensure your phone storage is not full, as it can prevent configuration downloads.

    5. Network Provider Restrictions

    Some network providers in Nigeria still have limited eSIM support. If your provider does not support eSIM for your device model, the activation will fail.

    How to Fix It:

    1. Confirm your network supports eSIM for your specific phone.
    2. Switch to a provider with stronger eSIM infrastructure.
    3. Contact customer support to check if your line has eSIM enabled.

    6. Server Delays or Provider-Side Issues

    Sometimes the problem isn’t your device at all. Provider servers can delay activation, especially during peak hours.

    How to Fix It:

    1. Wait 5–10 minutes and retry the activation.
    2. Restart your phone and network settings.
    3. Contact your eSIM provider to confirm if their servers are stable.

    How to Fix eSIM Issues instantly: Full Step-by-Step Guide

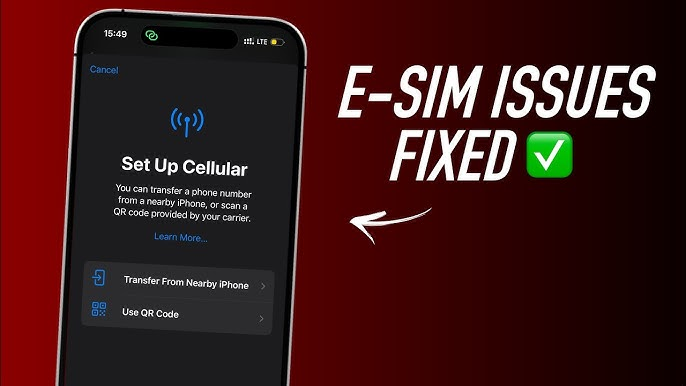
    Fix eSIM Issues instantly

    If your eSIM not activating persists, follow this complete troubleshooting checklist:

    1. Ensure your device supports eSIM.
    2. Update to the latest Android or iOS version.
    3. Connect to fast Wi-Fi instead of mobile data.
    4. Turn off VPN before activation.
    5. Scan a fresh QR code from your provider.
    6. Restart your phone after each activation attempt.
    7. Reset network settings (without deleting data).
    8. Confirm your provider’s server is active.
    9. Try activating at a different time if servers are congested.
    10. Contact support for manual provisioning.

    Following these steps resolves 90% of eSIM activation problems instantly.

    How Nexar Helps You Fix eSIM Problems Faster

    If you use eSIMs, virtual numbers, or verification services through Nexar, you get access to:

    • Immediate support when your eSIM is not activating
    • High-quality virtual numbers to avoid repeated OTP failures
    • Faster provisioning with stable servers
    • Step-by-step guidance for new users
    • Compatibility checks before purchase

    Nexar ensures a smooth onboarding process so you spend less time troubleshooting and more time connecting.

    FAQs About eSIM Not Activating

    1. Why is my eSIM not activating on my device?

    This usually happens due to compatibility issues, weak internet connection, expired QR code, outdated software, or provider restrictions.

    2. How can I fix eSIM activation problems in Nigeria?

    Ensure your device is compatible, update your software, use stable Wi-Fi, turn off VPN, and request a fresh QR code from your provider.

    3. Why is my phone showing an eSIM activation error?

    This error appears when your device cannot load the configuration file. Restart your phone, check your network, and retry the download.

    4. Can outdated software cause eSIM activation issues?

    Yes. Old iOS or Android software can block eSIM installation. Updating your device often resolves the problem immediately.

    5. What should I do if my eSIM is still not activating after trying everything?

    Contact your provider’s support team. They can re-provision your eSIM, issue a new QR code, or check for server-related delays.

    6. Can I use Nexar eSIM to make local calls?

    Nexar eSIM is for data only, so you can’t use it for traditional calls or SMS texts; it’s meant to give you internet access for browsing, maps, and apps when you travel. If you want to make calls or send messages, you can use internet-based apps like WhatsApp, FaceTime, or Skype, which work perfectly over the data connection provided by the eSIM

    7. Can I use the eSIM of a foreign country in Nigeria?

    No, you cannot. Nexar’s Data-Only eSIM is to help make internet access easy for the users. For example, if you travel to USA, instead of having to worry about getting a sim and connecting to the internet, Nexar eSim is available to make your internet access easy with just a few clicks.

  • What is SM-DP+ Address? How Does it Work to Activate eSIM Manually?

    In today’s digital world, mobile connectivity is no longer tied to tiny plastic SIM cards. Thanks to eSIM technology, users can activate mobile plans instantly without needing a physical SIM. But behind every smooth eSIM activation lies a crucial piece of information: the SM-DP+ Address.

    If you have ever wondered why your carrier sends you an SM-DP+ Address or what role it plays in activating your eSIM, this guide breaks it all down. Let’s get into it.

    SM-DP+ Address

    What is SM-DP+ Address?

    SM-DP+ Address stands for Subscription Manager Data Preparation Address. It is the server location your phone connects to in order to download your eSIM profile. When you buy or scan an eSIM, your phone needs to know where to download the eSIM profile (your mobile plan) from. The SM-DP+ Address tells your phone exactly where to go to get that data.

    Think of it like this:

    • The eSIM profile = your SIM card information (data plan, number, etc.)
    • The SM-DP+ Address = the online server where that SIM information is stored

    So when you enter the SM-DP+ address or scan a QR code, your phone connects to that server and installs your eSIM.

    Here’s why it matters:

    • The SM-DP+ Address is a server URL or domain that directs your phone to the right place to fetch your digital SIM profile.
    • Without this address, your device cannot talk to the carrier’s system or install the eSIM profile.
    • Each provider has its own SM-DP+ Address, which is why you must use the one given to you by your eSIM provider.

    Why is the SM-DP+ Address Important for eSIM Activation?

    When you activate your eSIM, your device needs to securely connect to your carrier’s server. The SM-DP+ Address makes this possible.

    Here’s what happens in the background:

    1. Your device contacts the SM-DP+ server using the address provided.
    2. The server authenticates your request.
    3. Your eSIM profile with your phone number, carrier settings, and plan details is downloaded.
    4. The eSIM activation is completed on your device.

    Without the SM-DP+ Address, this chain breaks and your eSIM will not activate.

    How to Find Your SM-DP+ Address

    If you’re wondering where to find your SM-DP+ Address, here are the common ways to locate it:

    1. Check In-App or Your Email – Most providers send the SM-DP+ Address and activation code via email or in the app when you buy an eSIM.
    2. Scan the QR Code – The QR code you receive usually contains the SM-DP+ Address along with the activation code.
    3. Contact Your Carrier – If you cannot find it, your provider’s support team can resend it.
    4. Check Device Settings On iPhones, go to Settings > Cellular > Add eSIM. On Android, go to Settings > Connections > SIM Manager > Add eSIM. If you choose “Enter details manually,” your phone will ask for the SM-DP+ Address.

    How to Manually Install an eSIM Using SM-DP+ Address

    Normally, scanning the QR code is easiest. But sometimes, manual entry is needed for example, if the QR code does not scan. Here’s how:

    On iPhone (iOS)

    1. Open Settings > Cellular (or Mobile Data).
    2. Tap Add eSIM > Enter Details Manually.
    3. Enter the SM-DP+ Address and activation code from your carrier.
    4. Follow on-screen steps to complete eSIM activation.

    On Android

    1. Open Settings > Network & Internet (or Connections).
    2. Tap Add eSIM (or “+” to add SIM).
    3. Select Enter Details Manually.
    4. Input the SM-DP+ Address and activation code.
    5. Finish setup and connect to the network.

    If you want a full step by step guide, read our article on setting up an eSIM on your android device here.

    What Happens If You Use the Wrong SM-DP+ Address?

    If the SM-DP+ Address is incorrect, your phone will not connect to your carrier’s server. This leads to errors such as “Unable to Activate eSIM.”

    In that case:

    • Double-check the details you entered.
    • Request a new QR code or SM-DP+ Address from your provider.

    Getting the SM-DP+ Address right is key because it’s what links your device to your carrier’s system. Once you have the correct one, your eSIM activation should go through smoothly.

    As more smartphones, tablets, and wearables adopt eSIM, the role of the SM-DP+ Address will only grow. Instead of waiting for a physical SIM, users can enjoy instant eSIM activation across borders. This makes eSIM perfect for frequent travelers, remote workers, and anyone who needs multiple mobile plans.

    Why Choose Nexar for Your eSIM?

    Not all eSIM providers are built the same. The quality of your eSIM experience depends on how reliable your provider’s servers are, how easy the setup process is, and how strong the connectivity remains afterward. That’s where Nexar stands out.

    With Nexar, activating your eSIM is quick and stress-free. Every eSIM purchase comes with your SM-DP+ Address and activation code clearly provided, so you can set it up instantly.

    • Instant activation anywhere, anytime
    • Global coverage that keeps you connected across borders
    • Affordable data plans that fit your budget
    • Secure and reliable servers that ensure your SM-DP+ Address works every time

    Whether you’re a travel content creator, a remote worker or frequent traveler, Nexar’s eSIM gives you freedom and flexibility without the hassle of switching SIM cards.

    If you are ready to enjoy these, get your eSIM instantly at Nexarhq.com and stay connected wherever life takes you.

    How to Get an eSIM from Nexar

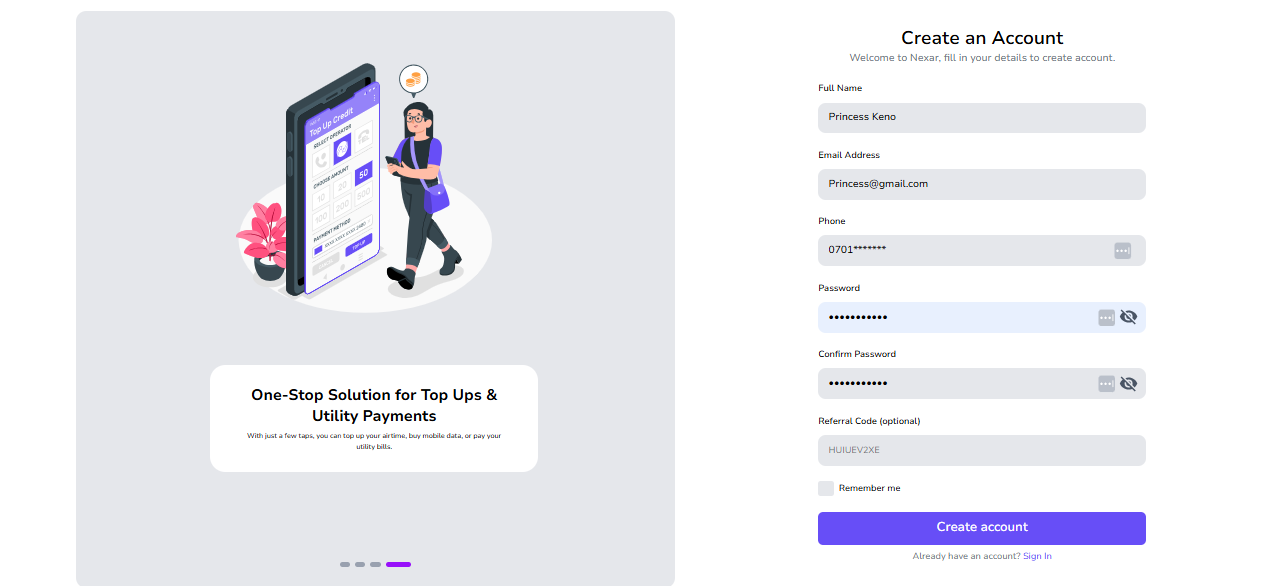
    1. Sign up on Nexar
    Nigerians Travelling for Business
    2. Select eSIM and Choose your Destination
    3. Pay in Naira or Your Local Currency
    4. Activate Instantly by following the above instructions or scanning the QR code to load your eSIM.

    If you are confused, you can watch this short YouTube video on how to activate an eSIM on Nexar to get a clearer picture.

    That’s all! Your data plan kicks in immediately when you arrive, so you can book rides, check emails, or join meetings instantly!

    Final Thoughts

    The SM-DP+ Address may sound technical, but it is simply the key that unlocks your eSIM activation. It tells your device where to fetch your carrier profile, ensuring smooth, secure, and instant connectivity.

    If you have purchased an eSIM and need to set it up manually, just use the SM-DP+ Address and activation code provided by your carrier. Within minutes, your eSIM will be live. Get started with Nexar now.

  • How to Set Up an eSIM for Travel on Long Road Trips 

    How to Set Up an eSIM for Travel on Long Road Trips 

    eSIM for travel is quickly becoming the go-to solution for people who don’t want to deal with unreliable networks and expensive roaming while on the road. But if you’ve ever taken a long road trip across Nigeria or even beyond, you already know how frustrating staying connected can be. One moment you’re streaming music or using Google Maps, and the next, your data is gone just when you need it most.

    Traditional SIM cards often fail travelers: roaming charges are expensive, swapping SIMs across states or countries is inconvenient, and in some regions, local SIM registration is time-consuming.

    And for freelancers, influencers, or business owners who rely on the internet to work while traveling, losing connection isn’t just a small problem it can mean missed deadlines, lost clients, or delayed payments.

    That’s where an eSIM for travel comes in. With Nexar, you can set up an eSIM for long road trips in just minutes, giving you seamless, affordable data without the stress.

    What is an eSIM for Travel?

    An eSIM for travel is a digital SIM built into your smartphone. Unlike physical SIM cards, you don’t need to insert or swap anything. You simply activate your eSIM online, and your device connects instantly to the local network.

    And if you’re traveling across rural areas, it’s even worse network coverage can be patchy, and you may find yourself with one bar of signal just when you need to confirm a hotel booking or get directions. For freelancers, travel influencers, and entrepreneurs who rely on the internet to work on the go, this kind of disruption isn’t just frustrating, it can cost you money and opportunities.

    For long road trips, especially across multiple regions or countries, this means:

    • No roaming headaches you connect directly to local networks.
    • No physical SIM swaps because your phone handles everything digitally.
    • Multiple plans on one device: personal, work, and travel profiles together.
    • Instant setup: You can buy and activate within minutes.

    With Nexar’s eSIM solution, Africans can now travel stress-free, enjoying strong connections without paying unfair roaming charges.

    Why Use an eSIM for Travel on Long Road Trips?

    Traveler using eSIM for travel on a long road trip

    Road trips can be unpredictable. One minute you’re streaming music, the next you’re in an area with poor coverage. Here’s why using an eSIM for travel is a game-changer:

    1. Stay Connected Everywhere

    Nexar eSIMs can help you stay connected everywhere. It doesn’t only work when you’re travelling within Nigeria; it also keeps you online when you cross into neighboring countries. So whether you’re on the road for business or just exploring, your internet stays with you

    2. No Hidden Costs

    Traditional roaming is expensive. An eSIM for travel gives you affordable, transparent rates.

    3. Flexibility

    Switch networks or data plans easily without visiting a store.

    4. Time-Saving

    No paperwork or registration delays. Set up your eSIM for long road trips in just minutes.

    5. Dual Usage

    Keep your regular SIM active for calls while using Nexar’s eSIM for affordable data.

    Step-by-Step Guide: How to Set Up an eSIM for Long Road Trips

    Wondering how to set up an eSIM for long road trips? Here’s a quick guide with Nexar:

    Step 1 – Check Your Device

    Ensure your smartphone supports eSIM (most new iPhones, Samsung, and Google Pixel models do). Before you set up your eSIM, confirm if your phone supports it. You can check the official GSMA list of eSIM-compatible devices.

    Step 2 – Get the Nexar App

    Download the Nexar app from the Play Store or App Store. This is where you’ll buy and activate your eSIM plan.

    Step 3 – Choose Your Travel Plan

    Select the eSIM for travel package that matches your trip length or region. Nexar offers flexible plans tailored to African travelers.

    Step 4 – Scan and Activate

    You’ll get a QR code inside the app. Scan it with your phone’s eSIM settings, and your plan activates instantly.

    Step 5 – Hit the Road

    That’s it! You’re now connected with secure, reliable data throughout your journey.

    Common Problems Travelers Face (and How Nexar Solves Them)

    • Problem: Expensive Roaming Fees

    Solution: Nexar’s eSIM for travel connects you to local networks at local rates.

    • Problem: Physical SIM Swaps

    Solution: No more searching for SIM vendors. Activate your eSIM online in minutes.

    • Problem: Poor Connectivity Across Regions

    Many travelers struggle with poor connectivity on the road, just like business owners struggle with verification delays. That’s why Nexar also offers virtual numbers for account verification.

    Solution: Nexar eSIM gives you access to multiple networks, ensuring stable coverage on your road trip.

    • Problem: Limited Payment Options

    Solution: Pay in naira using cards, bank transfers, or wallet balance tailored for African users.

    Why Choose Nexar for Your eSIM for Travel?

    Unlike many global providers that don’t focus on African markets, Nexar was built with you in mind:

    • Affordable rates designed for Nigerians and Africans.
    • Secure transactions with multiple local payment methods.
    • Easy setup in just a few taps.
    • 24/7 support so you’re never stranded.
    • One-stop platform;  buy virtual numbers, pay bills, and manage eSIMs in the same app.

    FAQs on eSIM for Travel and Road Trips

    Q1: Can I use eSIM for both local and international travel?

    Yes, Nexar eSIMs support both local and international usage depending on your package.

    Q2: Do I need to remove my regular SIM?

    No. You can keep your physical SIM active while using your eSIM for travel for data.

    Q3: How long does setup take?

    Usually less than 5 minutes.

    Q4: What if my phone doesn’t support eSIM?

    You’ll need a compatible device. Nexar is expanding support for more models.

    Quick Takeaways

    • An eSIM for travel is the easiest way to stay connected on long road trips.
    • No roaming fees, no SIM swaps, no stress.
    • Nexar makes it simple to set up an eSIM for long road trips in minutes.
    • Affordable, reliable, and built for African travelers.

    If you’re also exploring online opportunities beyond travel, check out our guide on how to grow your TikTok followers organically.

    Stay Connected on Your Next Road Trip

    Don’t let poor connectivity or expensive roaming spoil your trip. With Nexar’s eSIM for travel, you can enjoy seamless data wherever the road takes you.

    Download the Nexar app today and set up your eSIM for travel before your next road trip.